Showing posts with label Blue. Show all posts

Monday, April 8, 2013

BadAss Polish: Copper Waters {Review}

Evening ladies!!  I had planned on doing this post this morning, but I go wrapped up in getting Birthday Club polishes put away and re-organizing some baking stuff to make room for more crochet stuff.  Yeah, lots of moving stuff around today.  I am not quite done, but I will prob get to it again after the kids go to bed.  So for now, here is my review for BadAssPolish Copper Waters.  This is a new addition to the core line.  It's a mix of blue holographic glitter with copper glitter in a clear base.  It's quite pretty.  Check out the bottle:

BadAss Polish Copper Waters

I swatched this baby over quite a few colors and it was hard to choose my base to show you.  In the end I went with black and gold.  I did just one coat of my base colors, Wet N Wild Ebony Hates Chris and Essie Good as Gold along with one coat of Copper Waters.  I topped with a coat of Seche Vite and I was good to go. 

BadAss Polish Copper Waters

Isn't it pretty?  The formula was great and I definitely didn't have to do any fishing here.  You could do as many coats as you like, but I like to see the base color under this one.
Here are a few more pics for your viewing pleasure :)

BadAss Polish Copper Waters

BadAss Polish Copper Waters

BadAss Polish Copper Waters

I am enjoying all my BadAss Polishes.  

Copper Waters is not yet available, but will be soon in their Etsy Shop
In the mean time, check them out on Facebook, Amy likes to give away a bottle before you can buy it.  Also Facebook is where you will get all updated info, including release dates.

Hope you have a great evening, I am outta here!

XOXO  Mandy

Monday, March 11, 2013

BadAss Polish: Brew Crew {Review}

Morning!  Hope everyone had a great weekend.  I know I did.  It was pretty busy but all in all, it was a good time.  Until I woke up Sunday morning and lost an hour :(  Some one please tell me why we still have to change our clocks every 6 months.
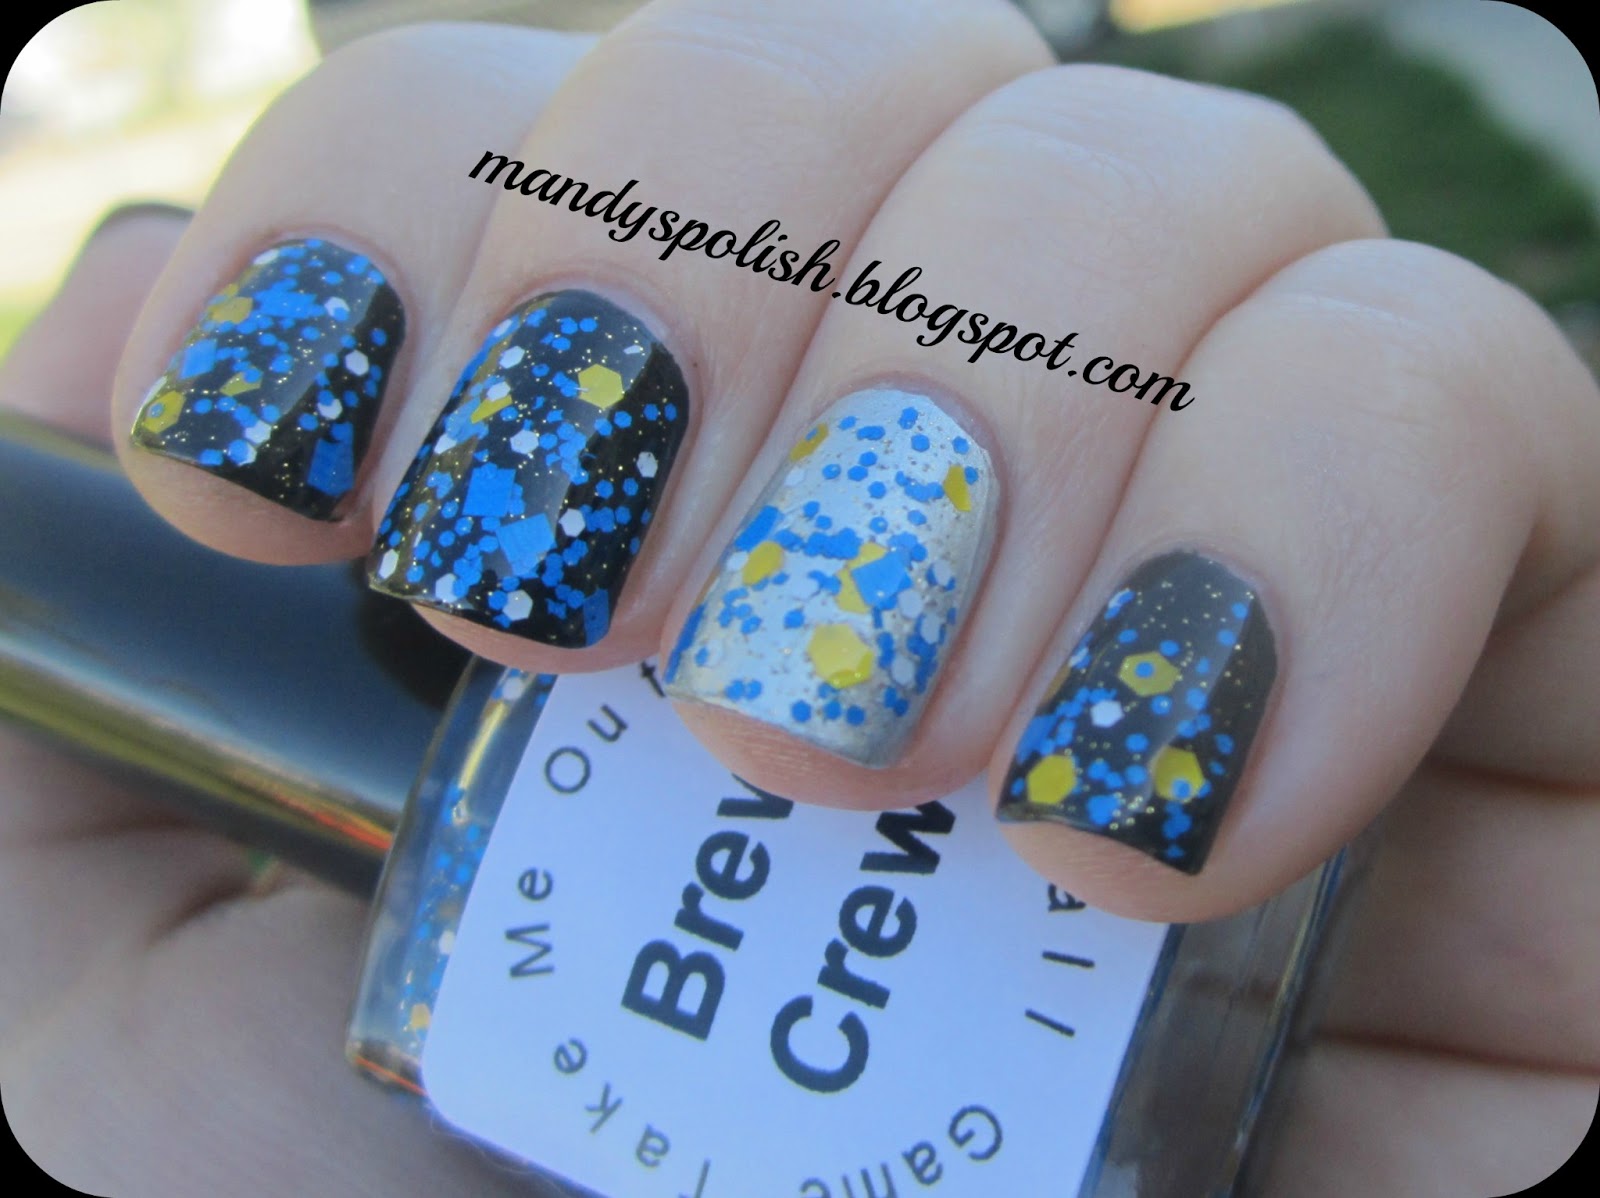
Less complaining and more polish!  Today I am sharing a lovely from BadAss Polish's new Baseball themed line, called "Take me out to the ball game"  Cute, right?  The first polish in the line was inspired by the Milwaukee Brewers called Brew Crew.  It's a clear base packed with blue, white and gold glitters.  Quite easy to apply, as have been all my BadAss polishes.  I am showing this glitter topper over a black and silver base, I LOVE IT!  It's so much fun and reminds me of space :)

BadAss Polish Brew Crew

Isn't it nice?!?!  I used 2 coats of Brew Crew to get this look.  You could easily do 3 or 4 to really pack it on there.  I have learned to have a little patience when using glitter toppers such as these.  I like to paint my base, let it dry for a minute or two and then do a coat of the glitter topper and let it dry for a couple of minutes.  Have you ever noticed that if it isn't dry enough, the second coat starts to pull the first coat and then  your pretty polish looks all a mess?  Yeah, me too.  So this time I waited about 3 minutes or so (about long enough to play a level or 2 of Candy Crush) between coats and not a mess of anything!  Patience really is a virtue when using glitter toppers.  

BadAss Polish Brew Crew

I don't really follow baseball, but that doesn't mean that a baseball inspired polish can't live with me.  
Baseball season is fast approaching, make sure to either grab this one or keep an eye out for your favorite team inspired polish.  BadAss Polish is good at capturing the team spirit in a bottle.  


BadAss Polish Brew Crew

You can check out BadAss Polish on Facebook or head to their shop on Etsy to purchase Brew Crew and other great polishes.  

Have a great rest of the week!!

XOXO  Mandy

Wednesday, January 9, 2013

Whimsical Ideas By Pam: I Believe In Fairies

Morning!!  Today I wanna share with you a polish I got from my Birthday Group.  I have been wanting to get my hands on some Whimisies for a long time and I was lucky to receive a couple from a great friend for my birthday.  This one is called I Believe In Fairies, it's a beautiful light purple jelly base with lots of little glitters in blue, pink, green, and prob a few others I can't make out, plus some large star glitters.  
Sadly, not one star showed up when I was painting my nails.  Maybe next time, but I still love the look anyway.

Whimsical Ideas By Pam  I Believe in Fairies
Base Coat:  Rejuvacote
Base Color:  Orly Royal Navy (1 coat)
Glitter:  Whimsie I Believe in Faires (2 coats)
Top Coat:  Seche Vite

I def plan on wearing this again soon, but layering over purple.  The blue is lovely and I can't stop looking at my nails

Whimsical Ideas By Pam  I Believe in Fairies

Pam can be found on FB HERE, she doesn't have an Etsy shop, you just e mail her at pea422000@yahoo.com, tell her what you want and she will invoice you.  Super simple!  She has some great stuff I hope to get my hands on.  Until then, I am quit enjoying I Believe in Fairies :)

XOXO  Mandy

Friday, December 14, 2012

BadAss Polish: Dusk {Review}

I have another review for you today :)  This is another polish from the core line of BadAss Polish.  Dusk is a beautiful glitter polish.  It's a clear base packed with mostly blue glitters and tiny gold glitters mixed in there for some some added dimension.  This polish is gorgeous in the bottle!

BadAss Polish Dusk

When choosing what color to layer over, I knew blue was a must.  But I wanted to add another as an accent.  Purple won that battle after a few swatches on a piece of paper.

BadAss Polish Dusk

I went with Sinful Colors Midnight Blue and Let's Talk as my underwear, a nice deep blue and dark purple.  I wish I could capture the purple's true color on camera.  The blue is spot on.  Looks great, right?  The accent is actually about twice as dark as in the photo.  So the contrast in real life is much more than you see here in the photo.  But you can still get a good idea how how cool Dusk looks over purple.

BadAss Polish Dusk

I used just one coat of Dusk for this mani.  That was all I needed.  This one is a little on the thicker side, so I would recommend you either add a bit of thinner or do as I did and just do one thick coat on each nail.  If you go too thin, you are gonna get some dragging as the polish dries and you are still trying to spread on more glitter.  Ask me how I know that LOL.  So get it on there, spread fast and move on to the next.

Just looking at my nails I am reminded of OPI Absolutely Alice.  I cannot for sure say that this Midnight Blue/Dusk combo is a dupe, but it sure looks like it from the bottle.  I will have to do a comparison post.  Wouldn't it be cool if this combo made the dupe list?  We shall see!

As always, check out BadAss Polish on Facebook and check out the SHOP to make your purchases.  Amy is really great and I enjoy working with her and her husband.

Amy is kind enough to send me the next polish in their football line, The Vikes, so stay tuned for that one!


Wednesday, December 5, 2012

BadAss Polish: America's Team {Review}

Hey everyone!  I have some exciting news.  I was sent a few polishes from a brand new Indie line for review.  How exciting is that?!?!

I have to say, so far, I love everything about this brand.  The packaging is awesome and something I have never seen before.  The bottles are cute and square with a nice label.  The polish is beautiful &glittery and we all know that is right up my alley!

I have 4 total polishes to review.  2 are football inspired polishes and 2 are part of the core line.  But first, I wanna show off how cool the packaging is for these babies.  
They are packed in cardboard tubes, genius!  No more bubble wrap or broken polishes from not so careful postal employees.  I took a few pics so you can see just what you get when you order from BadAss Polish

Here is the cardboard tube the polishes come in
BadAss Polish America's Team

When you open the tube, you will get a nice little note from Amy, the creator
BadAss Polish America's Team

Inside you will find your new polish wrapped in a piece of white felt.  Which helps to keep your polish safe in the tube as well as aid in glitter removal :)
BadAss Polish America's Team

BadAss Polish America's Team


And here you have a pic of what you get, nice packaging and a little thoughtful insert to help with glitter removal :)
BadAss Polish America's Team

And just in case you aren't sure how sturdy the packaging is, Amy uploaded a video of herself tossing the tube up the in air.
Check it out HERE

Today I am going to share with you America's Team.  It was inspired by the Dallas Cowboys.  It's a clear base packed with silver round glitter, micro glitter and blue star glitters.  What more do you need from a Cowboys inspired polish?

BadAss Polish America's Team


I decided to keep with the Cowboy's theme and used a blue and white base, although, this would look great over lots of colors.  Like red for 4th of July.....Just Say'n :)
BadAss Polish America's Team

I used Sinful Colors Midnight Blue and Snow Me White.  
Just one coat of America's Team was enough bling for me :)

BadAss Polish America's Team

Personally, I love this over white.  You have to fish a little for the stars, but that is pretty normal for large glitters.  If I did this exact mani again, I would only put the blue stars on my white nails.  But I think the next time I use this one, I am gonna do all my nails white :)

BadAss Polish America's Team

Soon I will have a review of Go Pack Go which is inspired by the Packers.  If you like what you see, head over to Facebook and Like BadAss Polish and check out her store on Etsy.

She is working on a new polish inspired by the Vikings, YAY!!  Purple glitters sounds good to me!!

I leave you with one last pic, because, well, I can!

BadAss Polish America's Team

Enjoy your Wednesday and see you tomorrow for another Let it Snow! Challenge mani :)

Friday, November 30, 2012

Let it Snow!: Snowflakes

Hey everyone, happy Friday!!  It's time to get back to some challenge mani's.  You probably remember I did the Spring and Summer challenges.  I started the Autumn challenge, but things were hectic around here and I dropped out :(  Now it's time for the Winter Challenge!!  Our group has named it the "Let it Snow!" Challenge.  Here is what we are going to be doing


Alrighty, here we go.  First challenge is snowflakes.  Who doesn't love snowflakes?!?!  I am really happy with how my mani turned out.  Blue, sparkly and of course full of snowflakes.  
See......

Base Coat:  Rejuvacote
Base Color:  China Glaze Dorothy Who? (2 coats, no underwear)
Stamping Plate:  Bundle Monster BM323
Stamping Polish:  Konad Special White
Top Coat:  Seche Vite

I actually did this a few days ago and I am still wearing it.  No chipping and still as pretty as the day I did it.

I am excited to do this challenge, be prepared for a new challenge mani every week :)
Don't forget to check out the other gals doing the challenge.


Saturday, September 22, 2012

Fall into Autumn: Cloudy Days

Sooooo, last night I did the next challenge mani for Fall into Autumn.  I was excited for this one.  I had  a couple designs running through my brain.  A few of the other girls have already shared their mani's and some were very similar to what I wanted to do.  I brain stormed a little more, then went to you tube and did a little looking around.  There were a few cloudy mani's to get inspiration from :)  
Now, when you see the mani, you are only going to see one nail.  I was having a couple issues and then I was having more issues with my kids.  Hubby was working late and I just couldn't hang.  
Here is my lonely finger

Base Coat:  Rejuvacote
Base Color:  Essence Vampire's Love Into The Dark (1 coat)
Stamping Plate:  Mash 37
Stamping Polish:  Konad Special White
Grey: China Glaze Crackle Glaze in Cracked Concrete
Top Coat:  Essie Matte About You

I was very surprised at how well these little clouds stamped.  I think using my plastic Konad scraper is turning out to be much better than my old gift card.  I used the crackle as the grey accent cause I wanted it to be a little different and I wanted to see how much it would crack when using just a tiny bit.  I used a dotting tool to add the grey to the clouds.  Now, I let these dry for at least 15 minutes.  It took that long get my table cleaned up and deal with my little ones.  I chose a matte top coat cause I thought it would be fun and different.  I tested on a nail and liked it.  So I continued.  When I got to my hand I would be photographing, all went to hell :(  My poor little clouds were smearing!  Every finger except my pointer finger was messed up.  That is why you are only seeing one finger today.  I couldn't get a very good shot of my whole hand any way.  Like I said, it was a bad evening.  However, I think this one lonely finger came out great and this is what I hoped my entire mani would have looked like.

How many times have you been trying to do a special mani and everything just goes wrong?

Have you entered my giveaway yet?  You can do that HERE :)


Thursday, September 13, 2012

Fall into Autumn: School Spirit

This weeks Fall into Autumn Challenge is School Spirit.  I take that to mean any school you are attending, attended or even your kids' school.  I have been out of school for a long time.  This year my oldest, 5, started kindergarten, so I am doing his school colors.  They are the Knights with the colors of Blue and Red. I have been wanting to try a few different techniques/polishes so this is a combination mani.  I went with a red base using Sinful Colors Hot Hot Heat from the new metallic line, it's a nice one coater :)  I have had the Finger Paints Flakies for a while now and have to even swatched them!  So flakies for this mani too.  I did 2 coats of Motley over my red base.  I let that dry over night.  It was getting late and taking too long to dry.  I was tired, so I carefully went to bed.  Today I got out my striping tape (new for me) and tried a simple design.  It didn't take too long to do and then applied a single coat of Sinful Colors Midnight Blue.  A nice one coater there too.  Next, I took off the striping tape.  It isn't as clean and crisp as I had hoped, but I think it's pretty good for my first try.  Added a coat of Seche Vite and done :)  What do you think?

Base Coat:  Rejuvacote
Base Color:  Sinful Colors:  Hot Hot Heat (1 coat)
Flakie:  Finger Paints Motley (2 coats)
Top Color: Sinful Colors Midnight Blue (1 coat)
Top Coat:  Seche Vite

I will def keep practicing with my striping tape, happy Wednesday <3


Friday, September 7, 2012

Guest Blogger Friday: Lacquered Libra

Good Morning and welcome to the first Friday Guest Post of September.  When I put out word that I wanted to start this series, I was excited that Kia offered to help.  She has some great mani's, this one is no exception!  She is AWESOME!

*********************************************************************************


Hi Lacquer Lovers!  My name is Kia from the Lacquered Libra and I'm here to do a guest post for Mandy.

Today I have a water marble to share with you.  I have just started having success with doing water marbles after trying for months.  So If you are having trouble, I say keep at it and it will happen for you.

The colors that I used are I Need A Refresh Mint and On A Trip, both Wet N Wild Megalast. The marble was done over a white base.


Special thanks to Mandy and her wonderful readers.


Happy Polishing!!

Thursday, September 6, 2012

Fall into Autumn: Back to School

The Summer Challenge has morphed into an Autumn Challenge,  YAY!!  Here is a list of what we will be doing


When I think of back to school, I think of school supplies, like most people.  So when quit a few gals went that route, I wanted to try some thing different.  I had no idea what I was going to do, until I saw a mani from a FB page that I love.  The Girlie Tomboy has a great plaid technique and I thought it would be perfect.  You know, for school uniforms! Seemed easy enough.  I was really happy with my design until I got to the end.  Mine is no where near as good as hers, but you can get the idea.  I will have to try this a few more times to see where I land.  Here is my Back to School mani

Base Coat:  Rejuvactoe
Base Color:  Sinful Colors Midnight Blue
Glitter:  NYC Starry Silver Glitter
Stripes:  Sinful Colors Striper in black
Top Coat:  Seche Vite

Looking back, my base was prob too dark.  When I tried to do some silver or white lines, it just looked so out of place.  So I had to go over them with the black.  It's a technique in progress LOL  I will definitely be trying this again.

Thanks for taking the time to have a look see :)


Friday, August 10, 2012

Guest Blogger Friday: WalkInMyEyeShadow

It's Guest Blogger Friday over here.  Today Natalie is joining us from WalkInMyEyeShadow.  She is a newer blogger and has some great stuff to show you.  Go check her out!!

*********************************************************************************


G'day all!

My name is Natalie Elise and I am a beauty blogger from Australia. Most of my time is spent either researching makeup and nails or blogging on my website, WalkInMyEyeShadow. When I was asked to do a guest post for Mandy's Polish I was really excited so hopefully you enjoy my mani and please check out my blog.

For my guest post I wanted to create a manicure inspired by peacock colours. My favorite colours are teal and purple and I wanted to bring those into a manicure, and this is what I came up with.


Here are the supplies I used for this manicure.


As a base colour I used China Glaze "Shower Together". I then applied stripes of colour across the background using various peacock inspired shade from LA Colours Art Deco. The colours I used were Magenta, Vibrant, Dark Blue and Forest Green.

I then added a little bit of sparkle by using the glitter stripers in Blue Glitter, Teal Glitter and a purple glitter striper that I don't know the name of. This is how it turned out


I then stamped a design from Mash image plate 49 with China Glaze "Metallic Muse", and this is how it turned out


Hopefully you have enjoyed my guest post here on Mandy's Polish, I would like to thank Amanda for giving me the opportunity to become known by a wider audience and look forward to hearing any feedback you have for me. Please check out my blog for more looks and reviews.

Monday, July 16, 2012

Lazy Days of Summer: Pool Party

Challenge #6 is Pool Party for the Lazy Days of Summer Challenge.  I have to tell you, when I go to a pool party, I mostly sit in a chair and look at all the pretty bathing suits.  My inspiration for this mani is a bathing suit.  If I could go out right now and pick out an awesome bikini, I think I would pick a nice blue with some white accents on it.  So here is my bikini mani for a pool party :)

Base Coat:  Rejuvacote
Base Color:  Orly Royal Navy
White Striping Tape
Clear Rhinestones
Top Coat:  Seche Vite

I have loved wearing this mani.  I have had it on for a few days and no chipping!  Just a little tip wear.

Until next time <3


Check out the other gals doing the challenge

Saturday, June 2, 2012

Essence: Blue Addicted

Happy Saturday everyone.  I hope you are looking at your computers today, I have an awesome polish to share with you.  I did a swap a while ago with a gal from the Netherlands.  I sent her stuff, she sent me stuff.....in my package was this little blue bottle with blue and green glitters.  SO PRETTY!  I have been wanting Deborah Lippman's Across the Universe and this is a dupe :)  At a much better price I might add.  I put this baby on as soon as I got it!!  I love this, I am going to have to get 1 or 2 more bottles, they are pretty small and I don't see myself ever not liking this one.

Base Coat:  Seche REBUILD
Base Color:  Essence Blue Addicted
Top Coat:  Seche Vite

Monday, May 28, 2012

OPI DS Magic

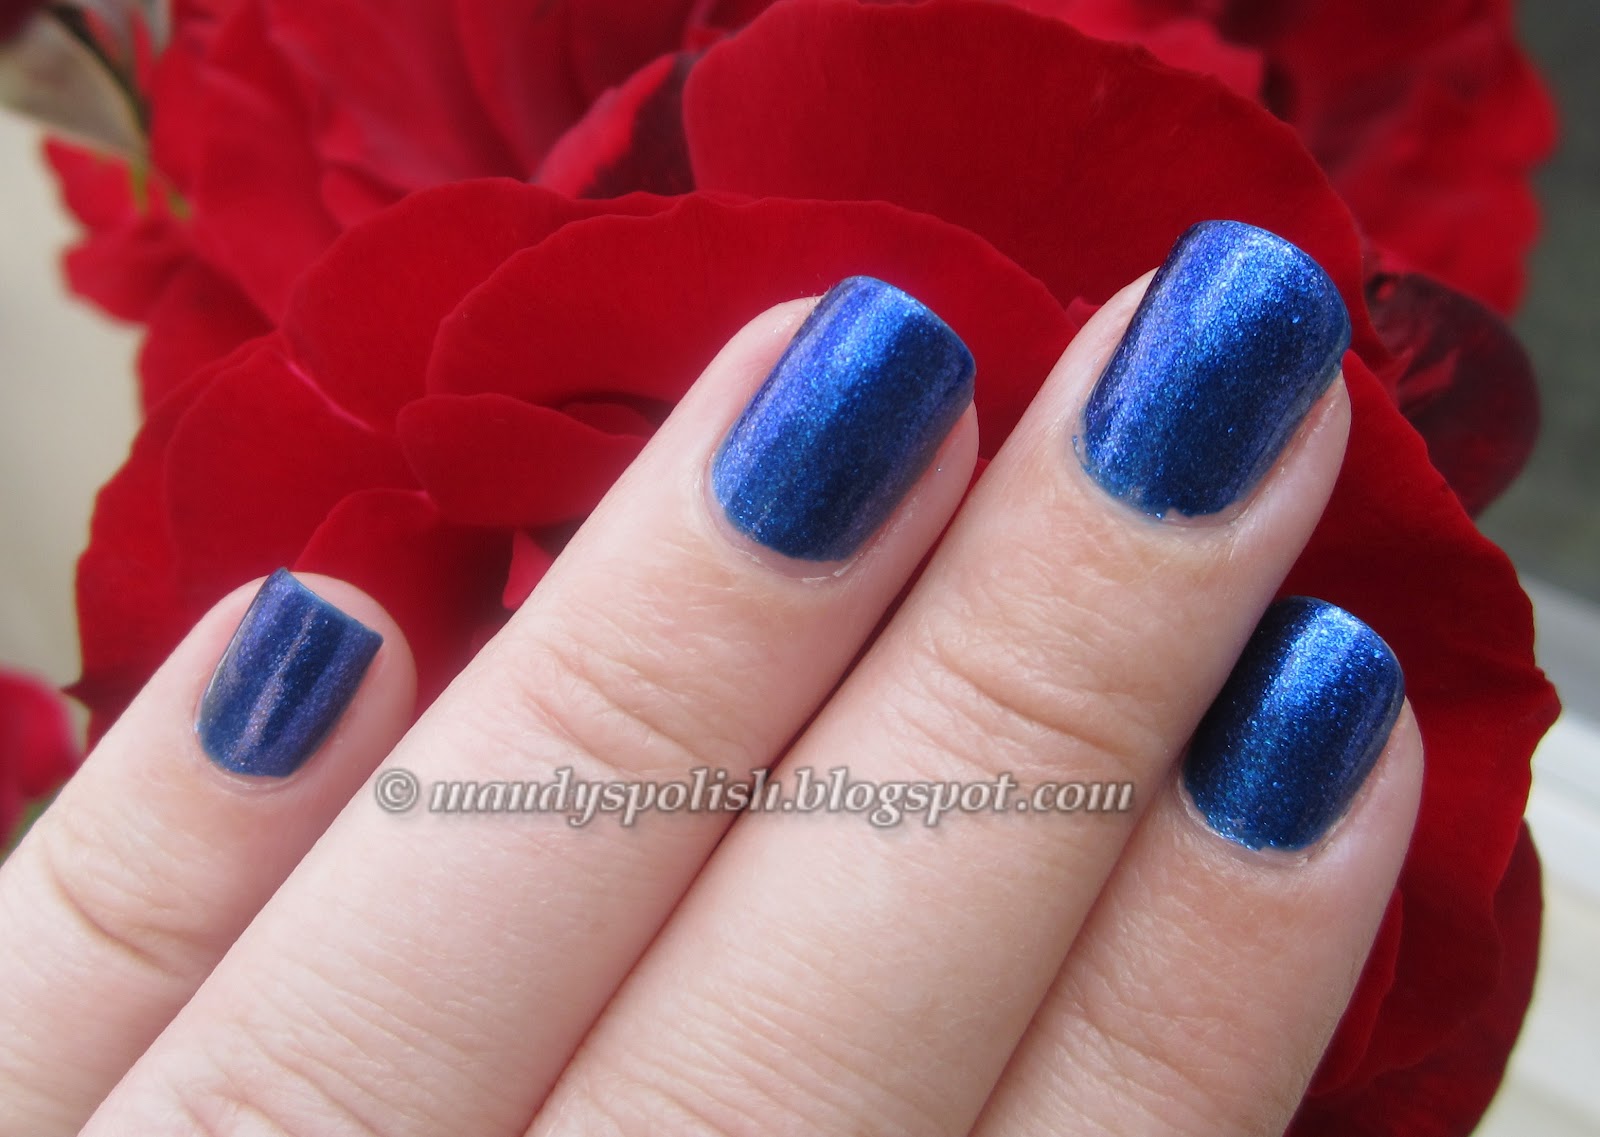
Happy Memorial Day!!  This is gonna be a short post, just a quick swatch for you.  I am wearing OPI DS Magic, I LOVE THIS BLUE!  Blue is quickly becoming a favorite color of mine.  This went on super easy and was opaque in 2 coats. Like my Memorial Day mani?

Base Coat:  Seche REBUILD
Base Color: OPI DS Magic
Top Coat: Seche Vite